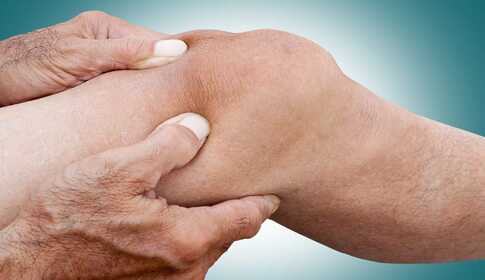
Stabilizing the Knee Joint with a Muscle Stimulator
The stability of the knee joint is provided by the leg muscles surrounding the joint, namely the thigh extensor muscles (front) and the hamstrings (back), as well as the calf muscles. If these muscles are strong, they hold the joint stably. This reduces the load on the bones forming the joint and lowers pain. There are other reasons to re-strengthen the muscles as well. Thus it is important after an injury and even before and after joint replacement surgery.
In this article I demonstrate how to regain the strength of the muscles around the knee joint.

Stabilizing the Knee with Muscle Stimulation
Preparations
- Take out your device, 4 cables and the self-adhesive electrodes.
- One option is to use only 5×5 cm square electrodes. An alternative is to place a 5×5 cm electrode on the motor point and a 5×9 cm electrode higher on the muscle. Another option is to use a 5×5 cm electrode on the motor point and a 5×9 cm dual electrode higher up on the muscle.
- You can buy self-adhesive electrodes here.
- Use the colored cables for muscle stimulation. It does not matter which color cable you plug into which connector on the device. The colors are only there to help you easily identify the two ends of the cable.
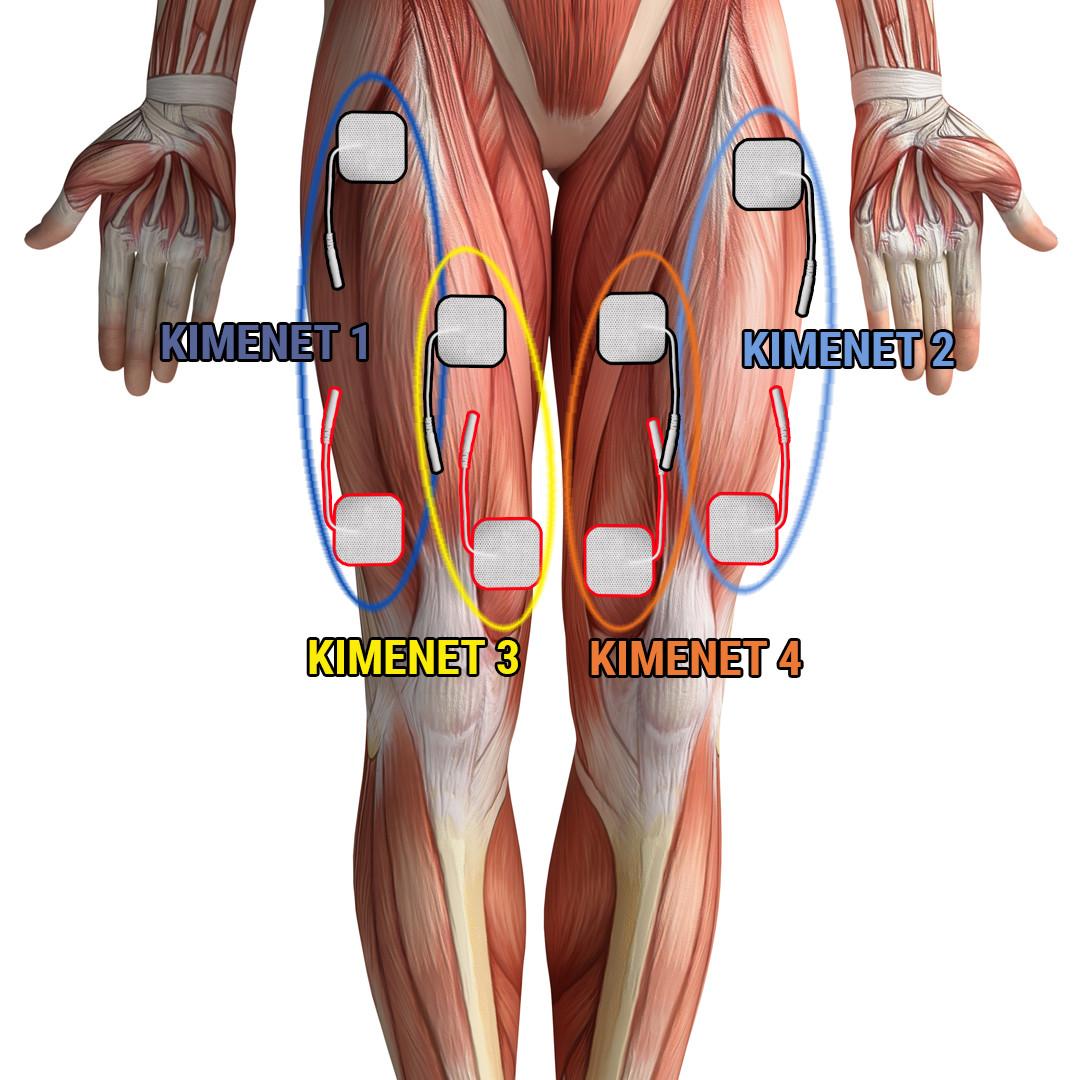
- Plug one end into your device. If you use a single cable, start with Output 1 (front left).
- The other end of the cable splits and ends in pin-like metal connectors. Attach one self-adhesive electrode to each of these and stick them to the bare skin at the points shown in the illustration.
- The two electrodes that belong to the same colored cable must be on the same muscle (or muscle group). The therapeutic current will flow between the two electrodes and this will trigger the contraction.
- It is NOT GOOD if the two electrodes are on different muscles or are separated by more than a handspan.
Electrode placement points
- For the treatment, separate the self-adhesive electrodes from the plastic backing and stick them to your skin.
- It's best if you wash the skin first with lukewarm soapy water and dry it thoroughly.
- The greasier, dirtier or sweatier the skin, the shorter the working life of the same electrode.
- Take the cable connected to Output 1 and stick its two electrodes one below the other as shown in the illustration.
- Stick the electrodes for Outputs 2, 3 and 4 in order according to the illustration.
Thigh muscle re-strengthening training plan
If you have an Elite, Elite 150, Cycling Pro, Runner Pro, Triathlon Pro, Soccer Pro, Moto Pro, Premium 400, Activa 700 or The Champion device, follow these instructions.
The mentioned programs can be found in the Program List / Sport program group. Always select the Lower limbs muscle group!
Week 1
| Program | Mon | Tue | Wed | Thu | Fri | Sat | Sun |
|---|---|---|---|---|---|---|---|
| Stiffness relief (20 minutes) | X | X | X | X | X | X | X |
| Endurance strength (25 minutes) | X | X | X | X |
Weeks 2–3
| Program | Mon | Tue | Wed | Thu | Fri | Sat | Sun |
|---|---|---|---|---|---|---|---|
| Stiffness relief (20 minutes) | X | X | X | X | |||
| Endurance strength (40 minutes) | X | X | X | X | X | X | X |
| Maximal strength (30 minutes) | X | X |
Weeks 4–12
| Program | Mon | Tue | Wed | Thu | Fri | Sat | Sun |
|---|---|---|---|---|---|---|---|
| Endurance strength (50-60 minutes) | X | X | X | X | X | X | X |
| Maximal strength (30-40 minutes) | X | X | X |
Setting the intensity
- When you start the treatment program you will initially feel nothing. At that point no treatment is occurring.
- To make it work you must increase the current intensity.
- Everyone feels the current differently and reacts differently. You will even notice differences between days.
- This is why the device does not set a value for you automatically. You must find the appropriate value yourself.
- If you increase the intensity step by step you will feel fine twitching in your muscles.
- These contractions do not yet strengthen the muscle, so you must increase the intensity further.
- The higher the intensity, the stronger the contraction you will experience, and the greater the effect.
- Above a certain (personal) value the treatment becomes painful. At that point reduce the intensity by a few mA.
- During the treatment you should feel very definite contractions, but they do not have to be painful!
- Stimulate at the upper level of your comfort zone.
- If you do not give enough intensity there will be no contractions and therefore no effect.
Finishing
- When the treatment time is over the program will finish.
- Turn off the device.
- Remove the electrodes one by one carefully from your skin (do not pull on the cable) and immediately place them back on the plastic backing.
- Many people have reported that storing electrodes in a regular refrigerator increases the adhesive lifespan. I'll leave that choice up to you!
My recommendation
Muscle strengthening does not happen in one day. You cannot expect meaningful change from a single treatment; at best you may get muscle soreness.
Progression is important: in the first week you must acclimatize your muscles to the stimulation; from the second week you will receive more frequent and stronger treatments, and after laying down the basics you enter the true strengthening phase.
You can expect the first results by the end of the third week; by then you will feel your thigh muscles supporting you better and you will feel better yourself. But you are not "done" yet.
After 2 months - also gradually - start to include strengthening exercises for the thigh in your daily routine.
After the third month the exercises (training) should be primary and I recommend using stimulation only as a supplement.
However, if you perform neither exercises nor stimulation, your muscle strength will slump back to the pre-treatment level within 2–3 weeks. You can maintain gains with regular activity.